Development Environment for Java
Java Development Kit
Visit Oracle’s Java Downloads site.
Under the latest (Java 25) Java SE Development Kit (JDK) xx.y.z downloads section, click on your platform (Windows, macOS, or Linux).
Download the appropriate installer by clicking the appropriate link.
If running Windows, choose “x64 Installer”.
If running macOS, choose “ARM64 DMG Installer” if you have a Mac with an Apple Silicon processor. Otherwise, choose “x64 DMG Installer”.
In order to download the installer you must accept the “Oracle Technology Network License Agreement for Oracle Java SE”. You are supposed to read it, but you can just check the box and click the download button

Run the downloaded installer, leaving all options set to their default.
Eclipse IDE
Visit the Eclise Foundation site.
Click the “Download” button on the top right of the page.
Click the “Download” button located beneath “Install your favorite desktop IDE packages”. Select “Download x86_64” if you are using Windows, or “AArch64” if you are using macOS.
Click the Download button.
Run the Installer.
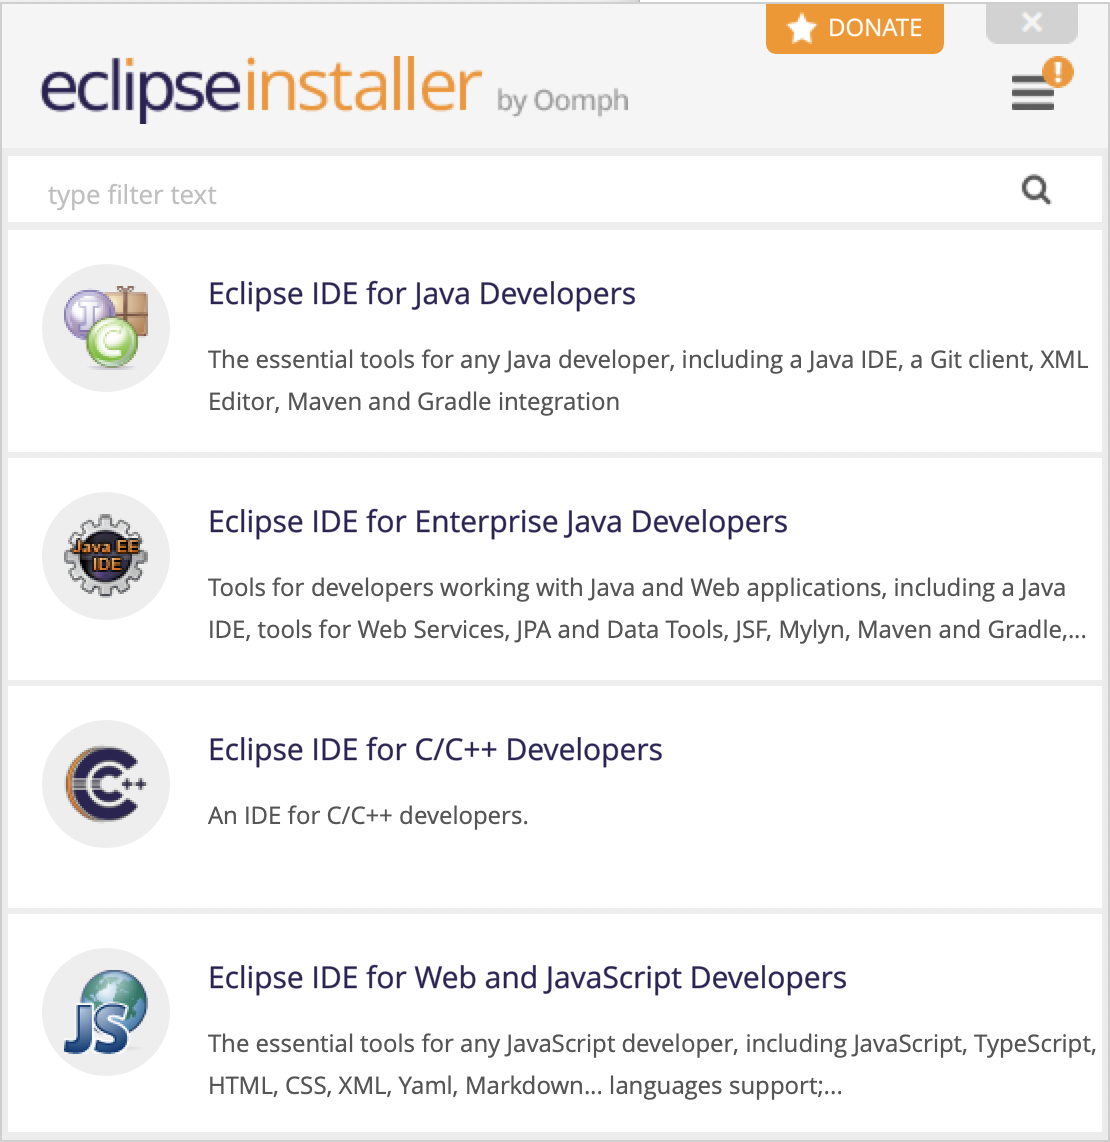
Choose “Eclipse IDE for Java Developers”.

(Recommended) Leave the location set to its default.
Click Install.
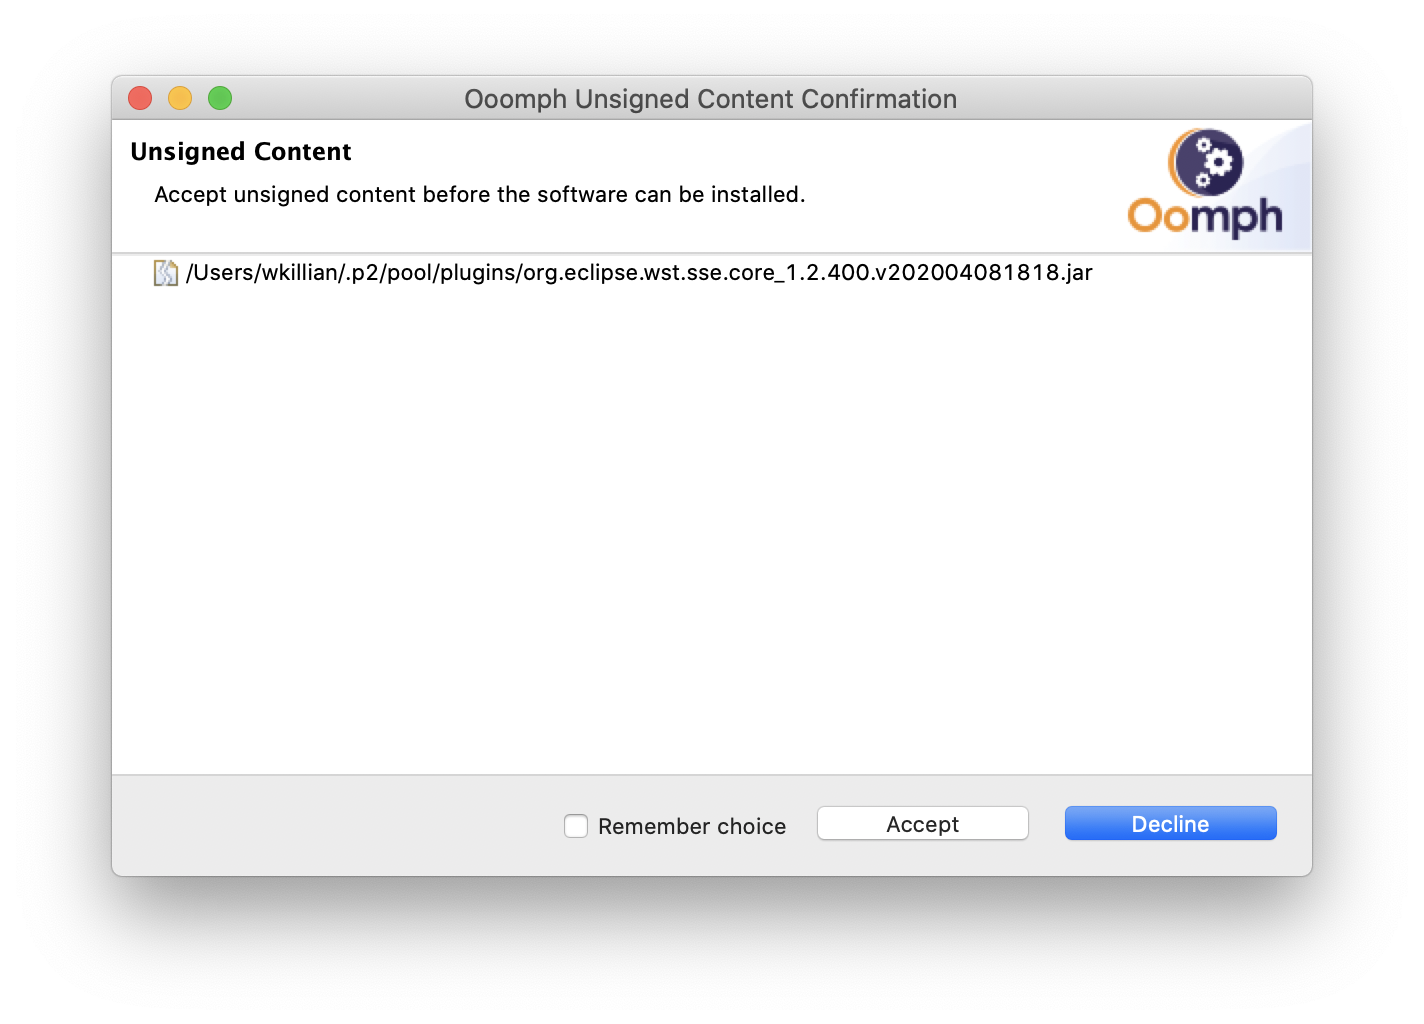
You will get a popup for Unsigned Content. Check “Remember choice” and click “Accept”

Click “Open in System Explorer”
- If running Windows 10, create a shortcut to eclipse on your desktop if not already done
- If running macOS, you can move the Eclipse application to the /Applications folder on your mac (or wherever you want)
Video
Dr. Hogg has graciously recorded a video for getting started in Eclipse and Autolab.