Configuring a Local Development Environment
Open “Visual Studio Code”
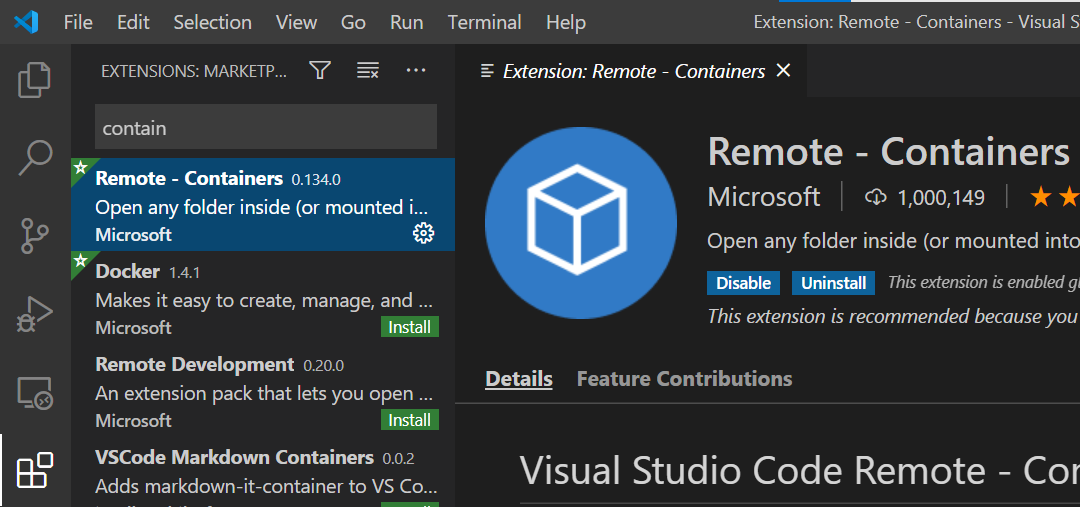
Click on the “Extensions” button on the left (Looks like a set of blocks)
Search for and Install the “Remote - Containers” extension
- Depending on what type of development you will be conducting, download one (or more) of the following ZIP files:
| Name | Language | Libraries/Programs | Courses |
|---|---|---|---|
cpp |
C/C++ | gdb, CMake, make, catch2, boost | 330*, 362, 370, 380 |
ocaml |
OCaml | opam, imagemagick | 330 |
lisp |
Lisp | clisp, roswell | 450 |
python |
Python | miniconda | 330* |
ai |
Python | z3, tensorflow | 450 |
Additional Devcontainers
| Name | Language | Libraries/Programs | Course(s) |
|---|---|---|---|
dotnet |
.NET | None | 330* |
javascript |
JS, Typescript | nodejs, yarn | 330* |
ruby |
Ruby | None | 330* |
java |
Java | Maven, Gradle, JUnit | 161*, 162, 330 |
swift |
Swift | None | 330* |
dlang |
D | None | 330* |
gfx |
C/C++ | glm, freeglut, assimp, emscripten | 375* |
Extract the ZIP file to a location where you will conduct all of your development. For example, I have a Projects folder under “Documents”
Switch back to VS Code
Click on “File > Open Folder” and open the extracted zip location (e.g. Documents > Projects)
You should be prompted in the LOWER RIGHT to re-open the folder in a Devcontainer. Do this.